Merry Christmas Eve to you all!
Here comes Santa! Here comes Santa! Woohoo!
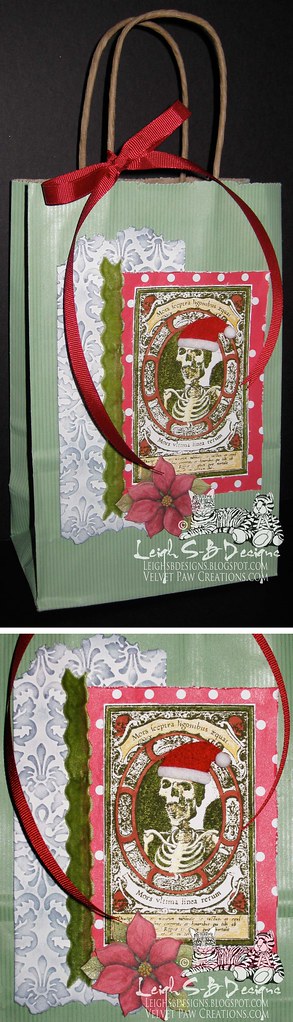
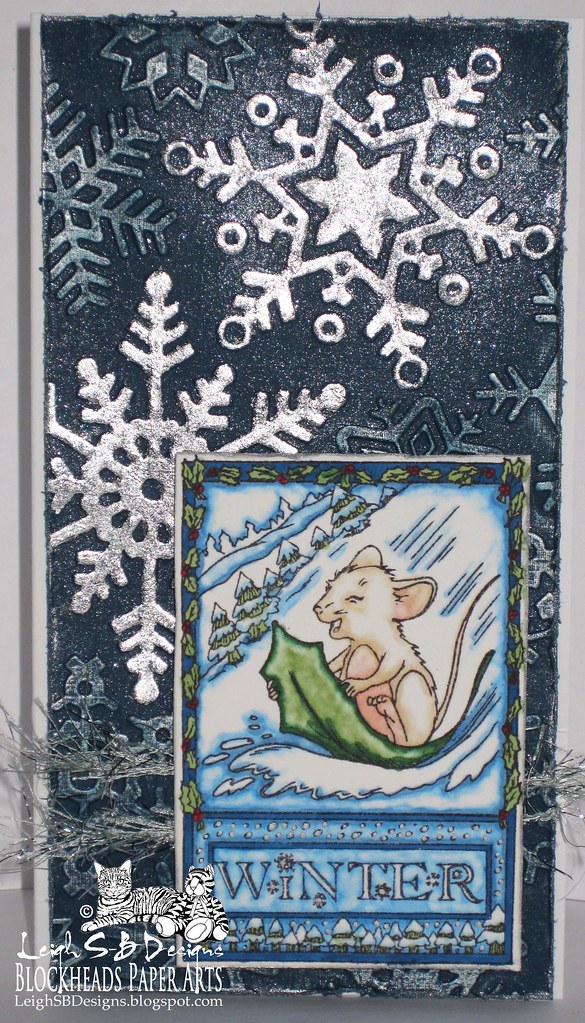
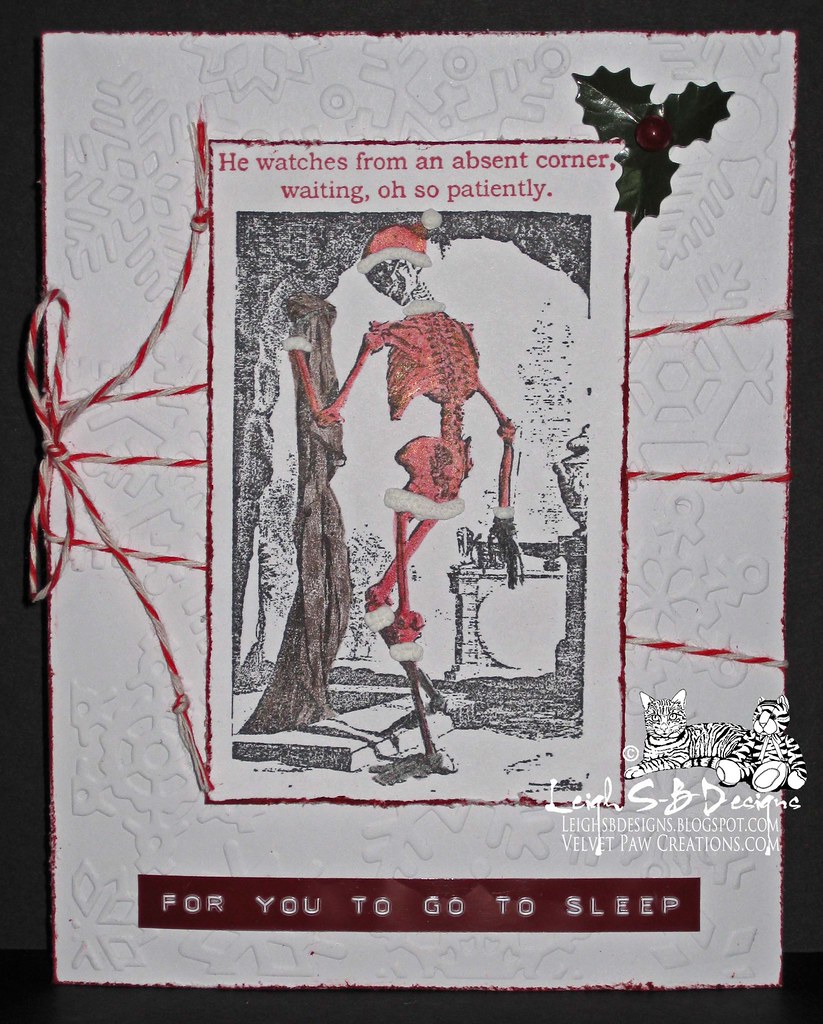
I'm sharing my 'counting down the arrival of Santa' card today ;0)

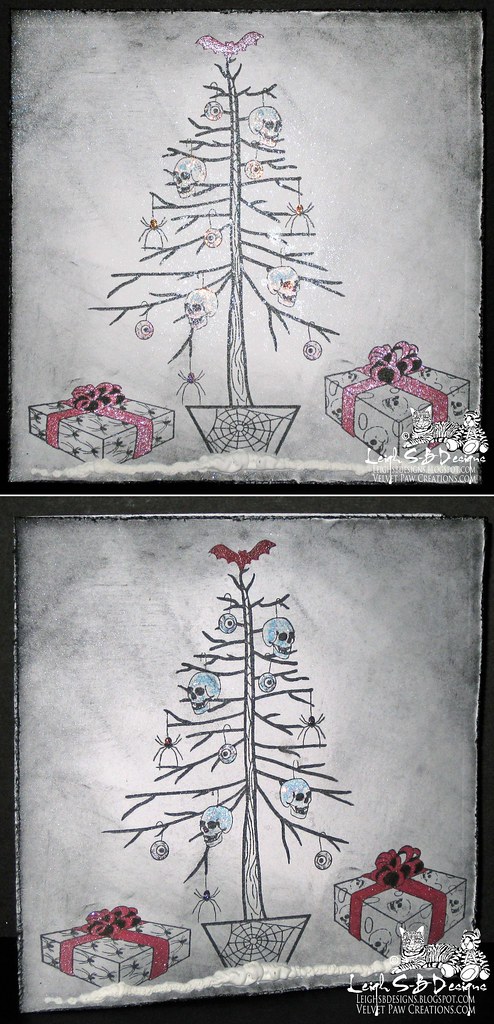
For as long as I can remember I've loved to get up close and even under my Christmas tree and stare into the depths, surrounded by the magical reflection of the fairy lights bouncing off the tinsel and baubles. The stamp I used on this card goes perfectly with my memories ;0)

Here comes Santa! Here comes Santa! Woohoo!
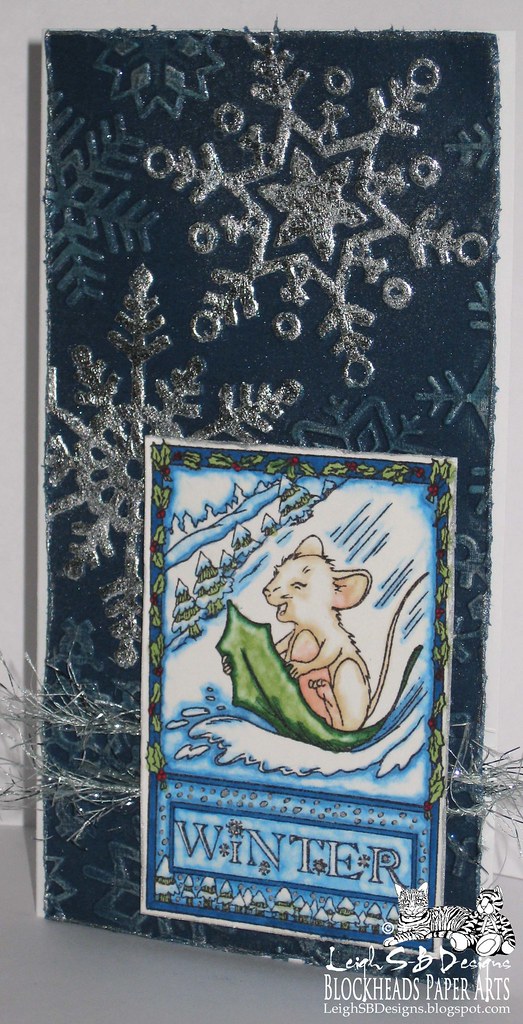
I'm sharing my 'counting down the arrival of Santa' card today ;0)
For as long as I can remember I've loved to get up close and even under my Christmas tree and stare into the depths, surrounded by the magical reflection of the fairy lights bouncing off the tinsel and baubles. The stamp I used on this card goes perfectly with my memories ;0)
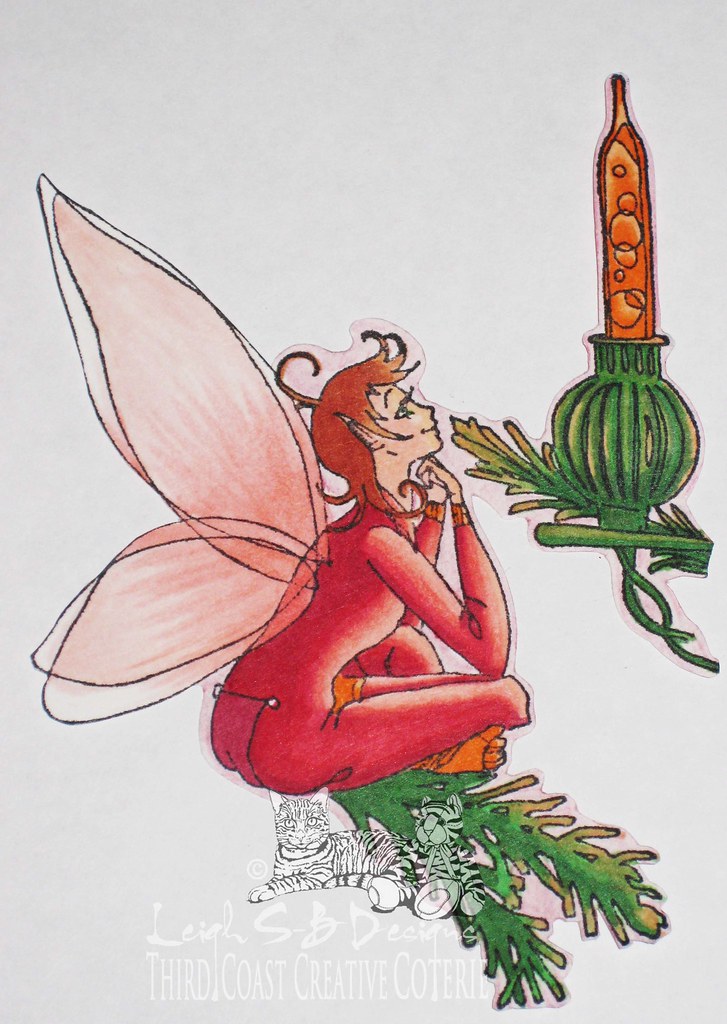
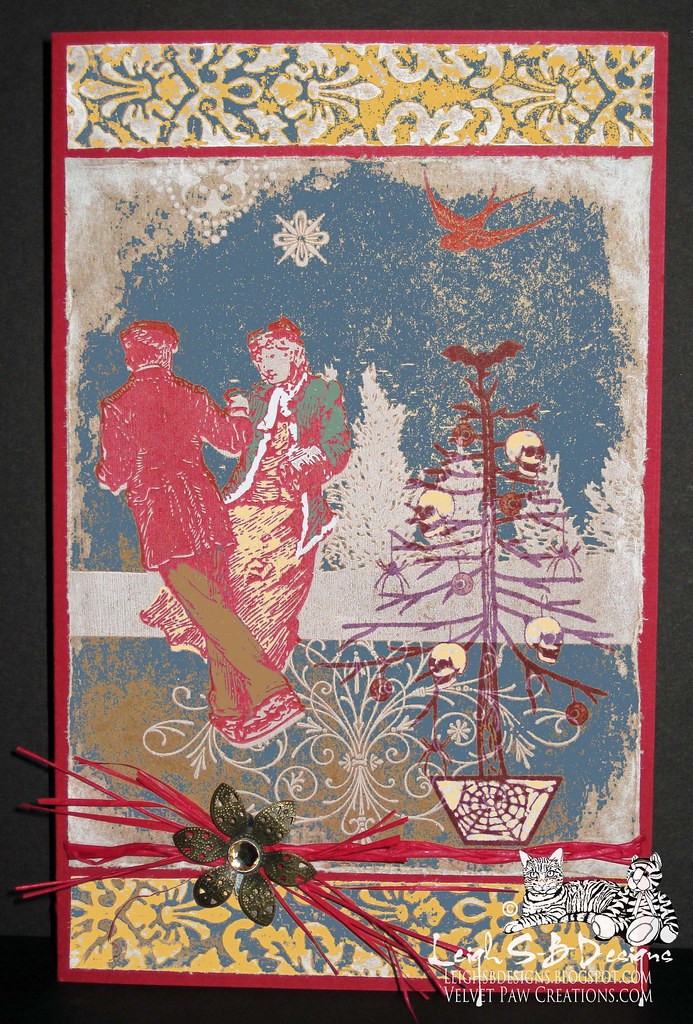
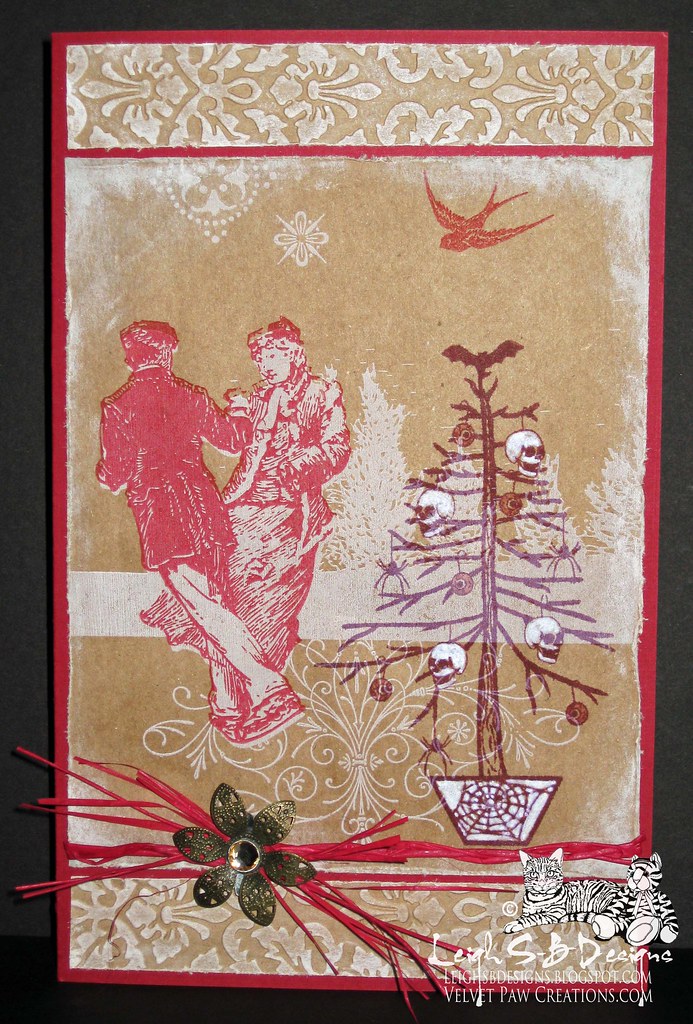
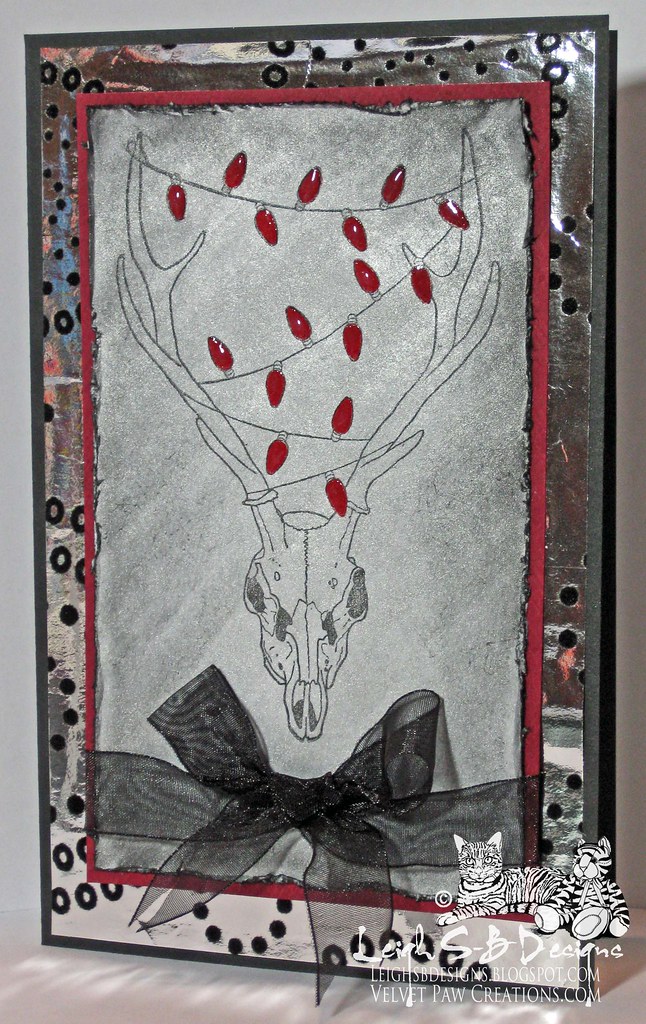
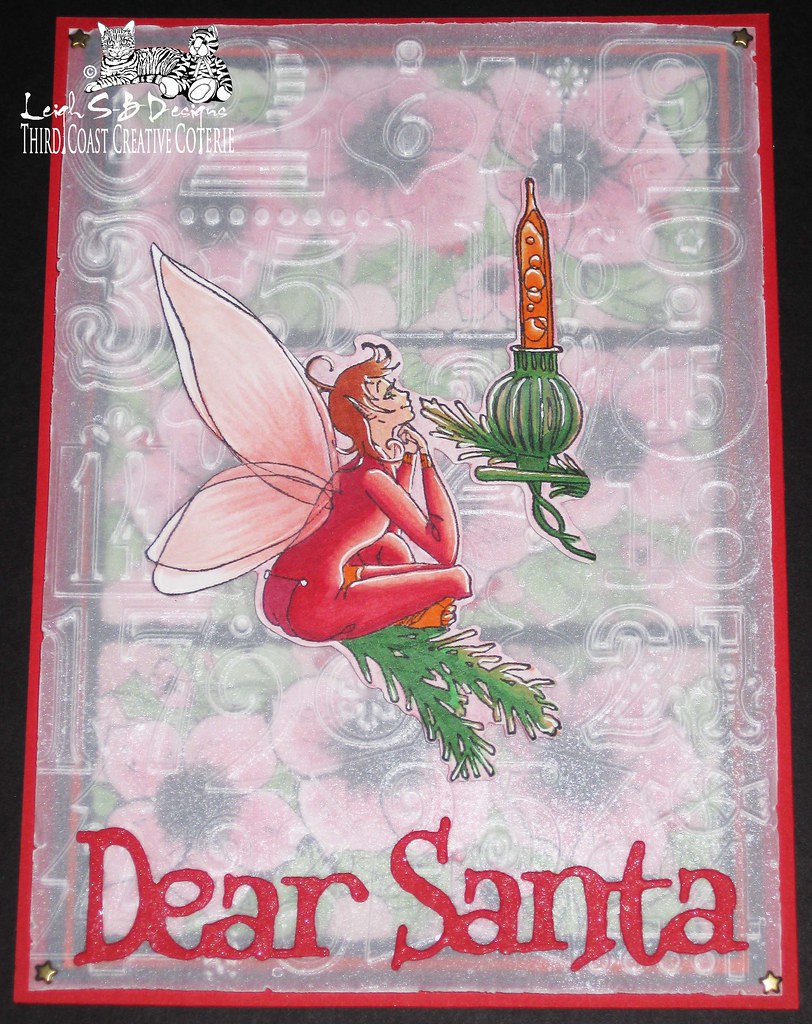
The images above and below are by Third Coast Rubber Stamps:
Bubble Light Fairy VB-213-P
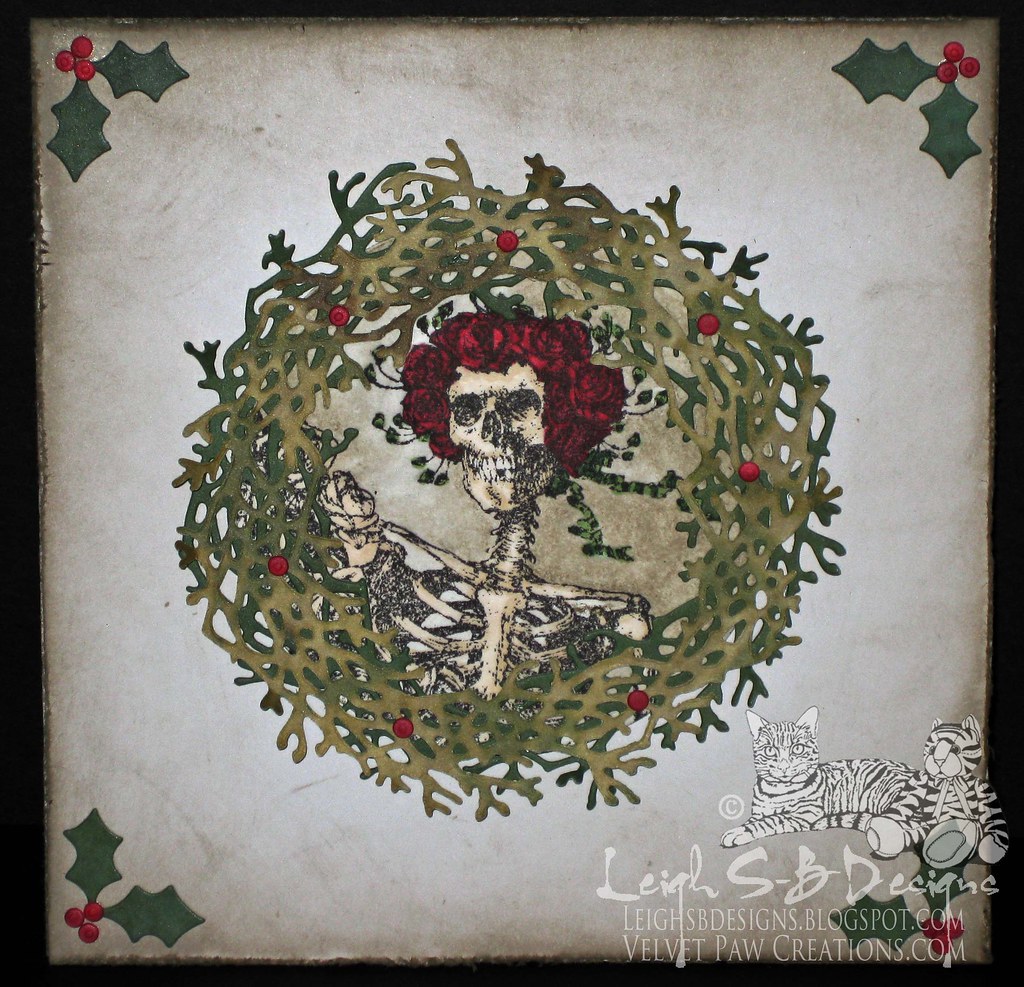
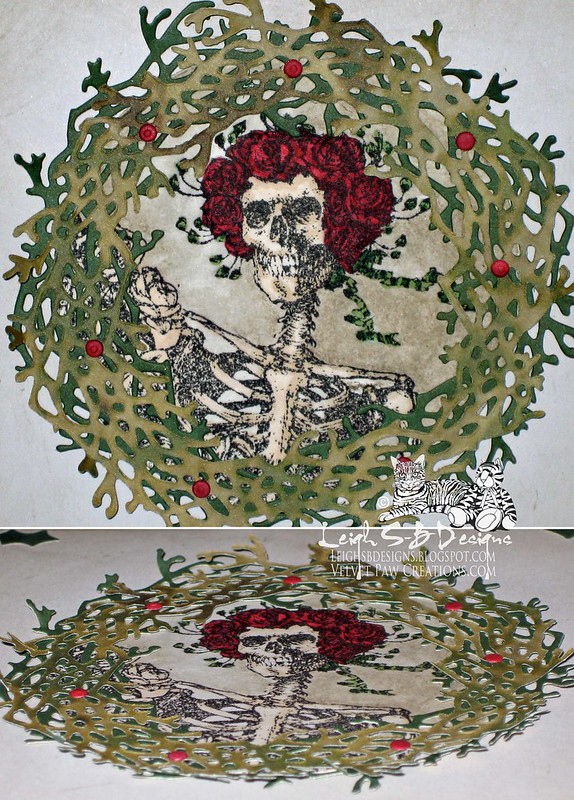
Christmas Rose and Holly DP-003-R

The fairy was stamped with Tuxedo Black Memento Ink onto Neenah Solar White cardstock, coloured with Copic Sketch markers and highlights added with a white gel pen. The background was coloured with a red Derwent pastel pencil and blended with a Dove Blender pen and fussy cut out. The Rose and Holly was stamped three times on Bazzil Basics white cardstock and coloured with Derwent Pastels then blended. The berries were coloured with a Derwent water colour pencil and blended too. Each panel was die cut out with a Spellbinders Mega Rectangle Deckle die and spritzed with Vanilla Smooch Spritz then layered onto black, orange and red cardstocks. The first black mat and the orange mat were distressed with Tim's paper distresser tool.
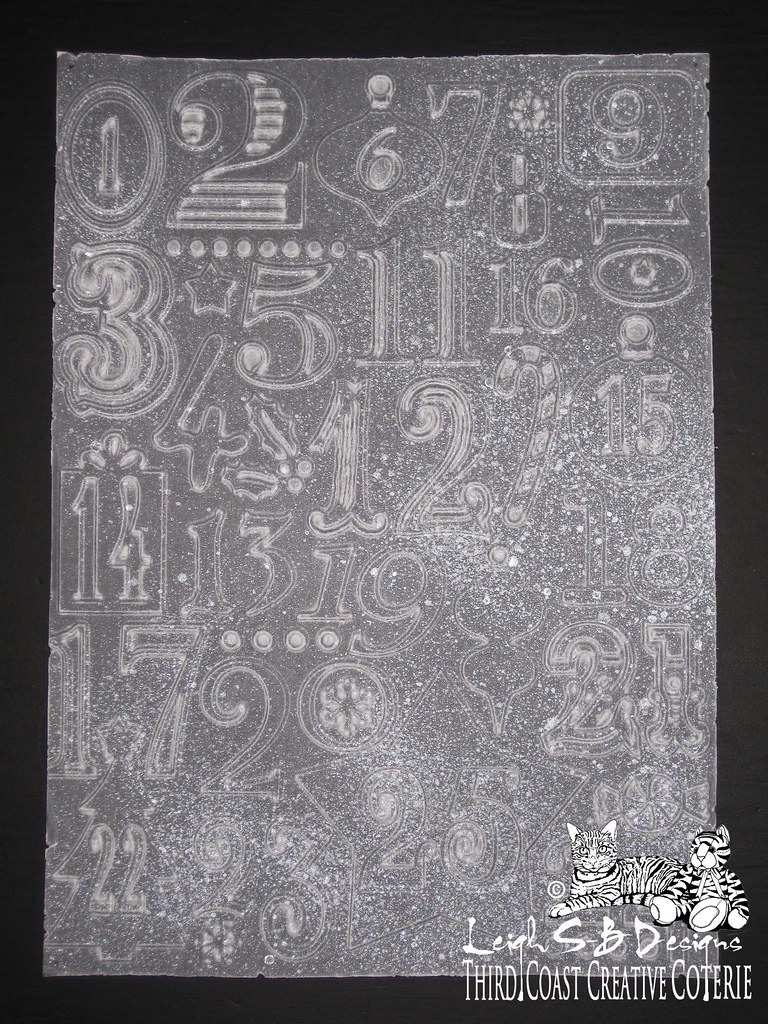
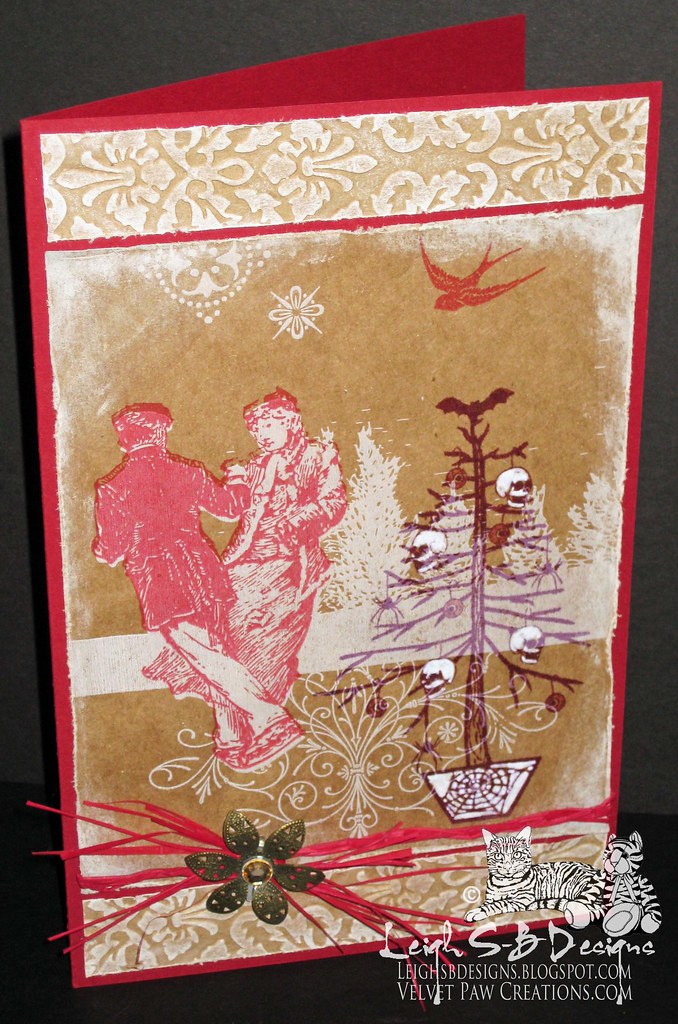
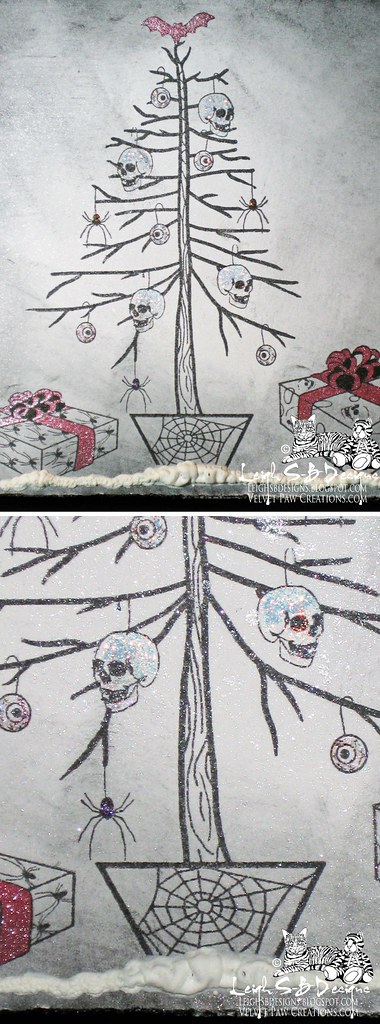
A sheet of vellum was cut to the same size as the larger black mat and embossed with Cuttlebug's Christmas Countdown embossing folder, the edges distressed and then also spritzed with Vanilla Smooch for lots of magical Christmas sparkle.
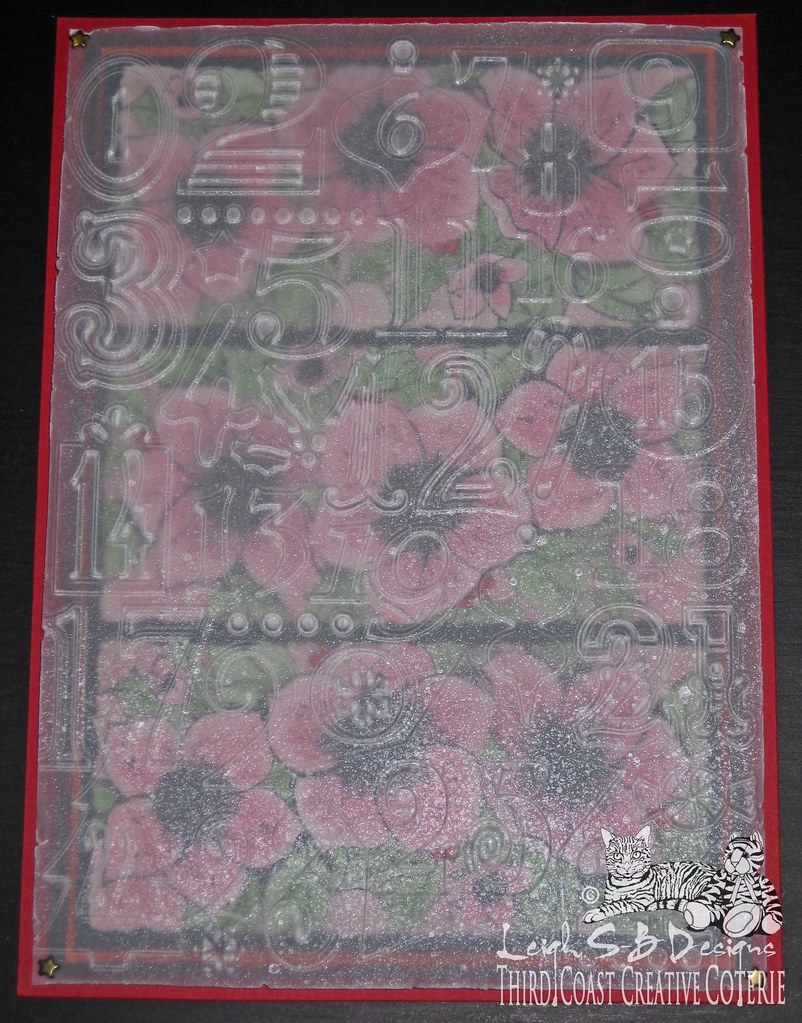
The vellum was centered over the Christmas Rose and Holly panels and 4 holes punched in each corner and attached to the cardstock with tiny antique gold star brads. I made a folded card from black cardstock and mounted all the panels to it with Scotch Quick Dry Adhesive. The bubble fairy was adhered to the front with Kool Tak transparent foam tape and the phrase was die cut from red cardstock with a Sizzix Sizzlits die, spritzed with Vanilla Smooch and adhered to the vellum with a Quickie Glue Pen.
Most of the supplies I used are available from Blockheads Paper Arts!

Merry Christmas and Happy Holidays!
Keep safe!
Happy Stamping!

THE SHARPIE DOMINO QUEEN