
Howzit Friends!
I've been having fun playing with a technique that I call faux etching coz it reminds me of the print etchings I did when I was studying Fine Art.

Last week I shared the first in my Dark Etchings series which was the ATC for Smudgy Antics previous challenge...their new challenge started on Monday, Use Embellishments, so pop over and check it out!! Now I'm super excited to show you these because both feature the newest rubber images designed by Rick St Dennis and are featured sets in Smeared Inks' Rubber Club! These images are freaky fabulous and you should grab them for your Halloween projects this year, let them know I referred you if you decide to join up ;0)
Smeared Inks' Rubber Club exclusives
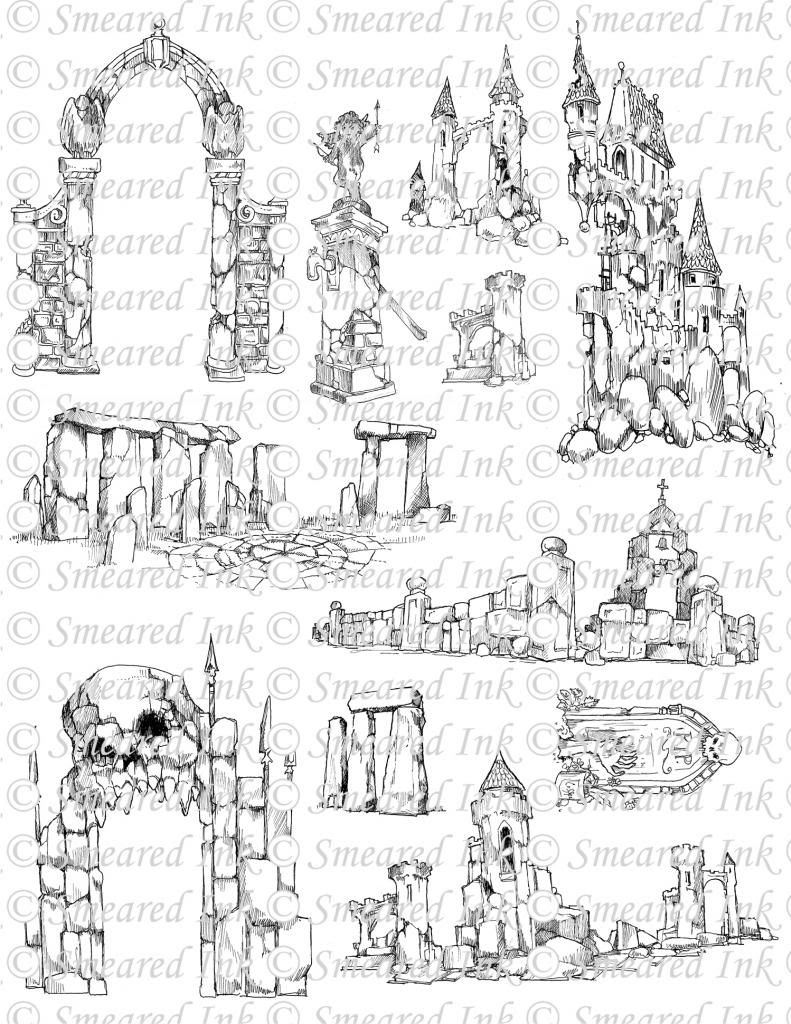
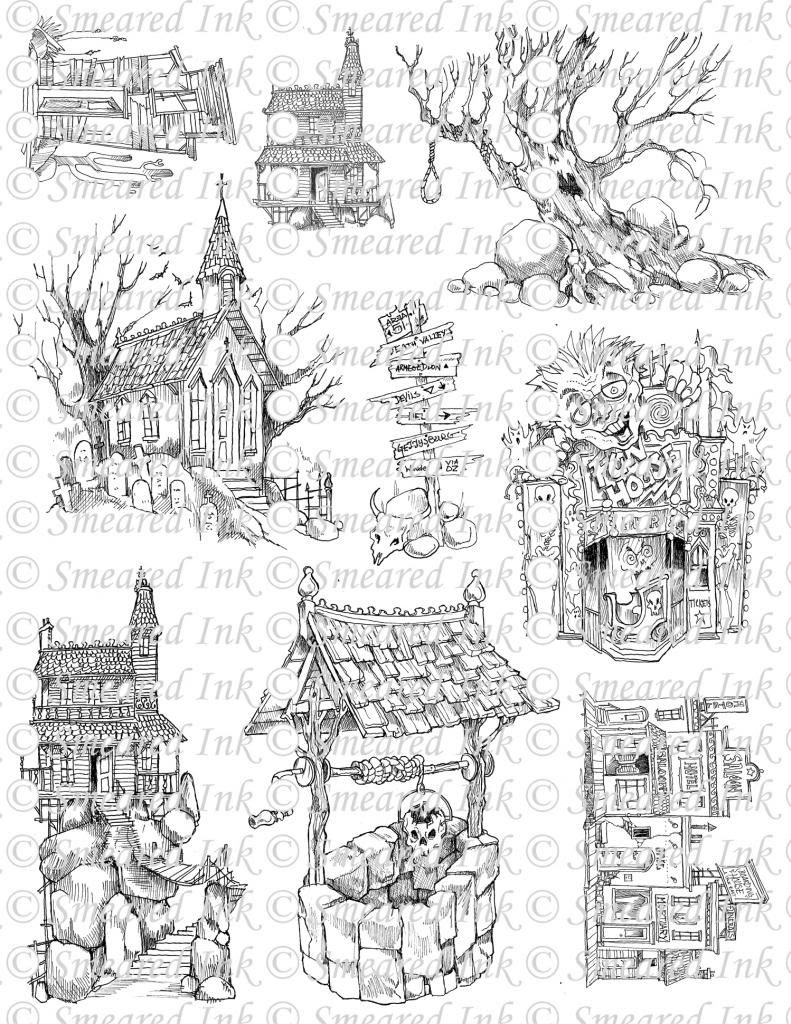
Haunted Places 1 and Haunted Places 2

Dark Etching - Sacred Ground

The faux etching technique is so much fun and really simple to do and the hardest part about my etching above was all the masking. I used 3 of the stamp images to collage the scene as well as portions of the image from the center of the sheet...you'll be able to spot the collaged sections, just click on the photo to enlarge it. Everything was stamped with Black Soot Distress Ink onto watercolour paper and I used a Japanese water brush pen that has the built in reservoir. It really is just a watercolouring technique coz the water picks up the stamped ink and you can control how much ink to pick up for light areas and add more directly from the ink pad for darker areas. You don't need any special masking paper either coz I used plain old Scotch Magic Tape and just mask the areas off on the rubber stamp, ink it up, then remove the tape before stamping. You can either eyeball the placements or use a stamp positioner to line everything up perfectly!

Dark Etching - The Signs

I used two images from the Haunted Places 2 sheet to create the etching above. I used my Perfect Square tool to trim down the watercolour paper before adhering both etchings to black cardstock and then used my Perfect Layers tool to cut the 3/16" black borders. Use my special coupon code Leigh5% to get 5% off your entire purchase once you realize you can't live without these tools! I think I'm actually going to frame these two I love them so much ;0) I've also got more up my sleeve for Dark Etchings Series 1....I'll be sharing my Smudgy Antics DT "Embellishments" piece next. I'm also taking part in the next round, #9, of the Smeared and Smudged DT Throwdown with the ghouls of Smeared Ink themselves so you won't want to miss checking it all out on our new DT Throwndown blog!!
I've been having fun playing with a technique that I call faux etching coz it reminds me of the print etchings I did when I was studying Fine Art.

Last week I shared the first in my Dark Etchings series which was the ATC for Smudgy Antics previous challenge...their new challenge started on Monday, Use Embellishments, so pop over and check it out!! Now I'm super excited to show you these because both feature the newest rubber images designed by Rick St Dennis and are featured sets in Smeared Inks' Rubber Club! These images are freaky fabulous and you should grab them for your Halloween projects this year, let them know I referred you if you decide to join up ;0)
Smeared Inks' Rubber Club exclusives
Haunted Places 1 and Haunted Places 2

The faux etching technique is so much fun and really simple to do and the hardest part about my etching above was all the masking. I used 3 of the stamp images to collage the scene as well as portions of the image from the center of the sheet...you'll be able to spot the collaged sections, just click on the photo to enlarge it. Everything was stamped with Black Soot Distress Ink onto watercolour paper and I used a Japanese water brush pen that has the built in reservoir. It really is just a watercolouring technique coz the water picks up the stamped ink and you can control how much ink to pick up for light areas and add more directly from the ink pad for darker areas. You don't need any special masking paper either coz I used plain old Scotch Magic Tape and just mask the areas off on the rubber stamp, ink it up, then remove the tape before stamping. You can either eyeball the placements or use a stamp positioner to line everything up perfectly!
Dark Etching - The Signs

I used two images from the Haunted Places 2 sheet to create the etching above. I used my Perfect Square tool to trim down the watercolour paper before adhering both etchings to black cardstock and then used my Perfect Layers tool to cut the 3/16" black borders. Use my special coupon code Leigh5% to get 5% off your entire purchase once you realize you can't live without these tools! I think I'm actually going to frame these two I love them so much ;0) I've also got more up my sleeve for Dark Etchings Series 1....I'll be sharing my Smudgy Antics DT "Embellishments" piece next. I'm also taking part in the next round, #9, of the Smeared and Smudged DT Throwdown with the ghouls of Smeared Ink themselves so you won't want to miss checking it all out on our new DT Throwndown blog!!
Happy Stamping!

THE SHARPIE DOMINO QUEEN
Beautiful, Leigh! xxD
ReplyDelete